A staging site is an ideal solution for an age old problem - how to test a WordPress site without breaking the live version.
A WordPress staging site is completely identical to the original site and offers a dedicated test environment for testing plugins, themes, and changes/improvements in general without affecting the live codebase.
There are multiple ways to create WordPress staging sites (with plugins or manually). In this tutorial, I will describe how you can create a staging environment on the Cloudways platform easily. So let’s begin!
What Is a Staging Environment?
In practical terms, a staging environment or site is a separately and individually manageable copy of the original site. One of the many benefits of a staging environment is the ability to test a plugin, theme level changes or specific changes to the visual elements and website content in a sandboxed environment.
Basically, this copy of the live site is separate from the original, with its own codebase and database. Once you have tested the changes and ready to push the changes, you can reflect these changes on the live version in just a click
The staging site, therefore, allows you to better organize your work, evaluate potential plugin replacements, try out theme changes and then push the new version to the original site.
Create WordPress Staging Sites
Cloudways managed WordPress hosting provides a useful and practical feature for creating your staging sites and for making updates and changes safely.
Sign up for Cloudways
Go to Cloudways sign up page, enter the required details, and click on the Start Free button.
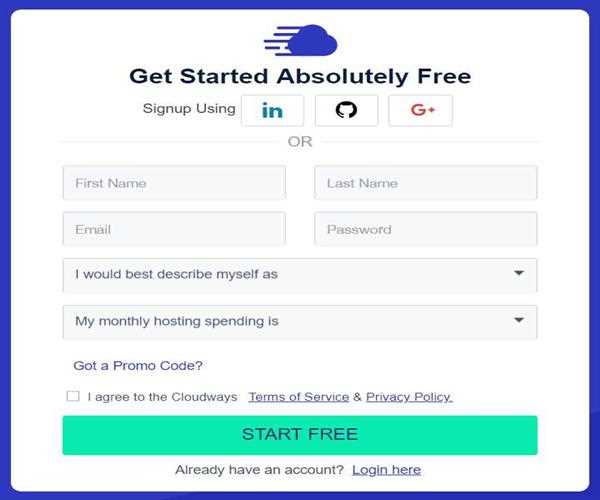
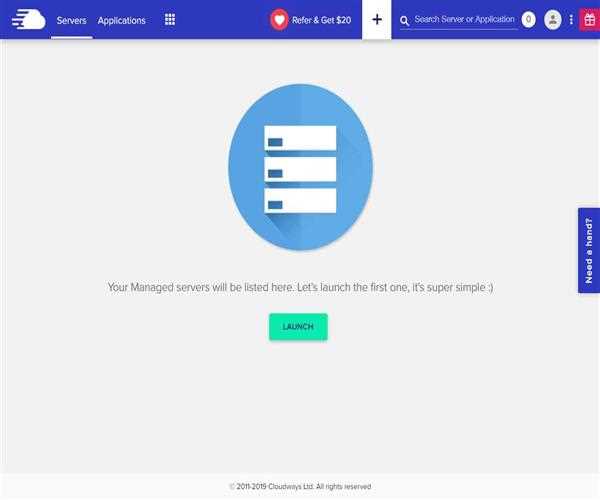
You will get an email that asks you to verify your account. Once verified, log in to your Cloudways account and click on the Launch button.
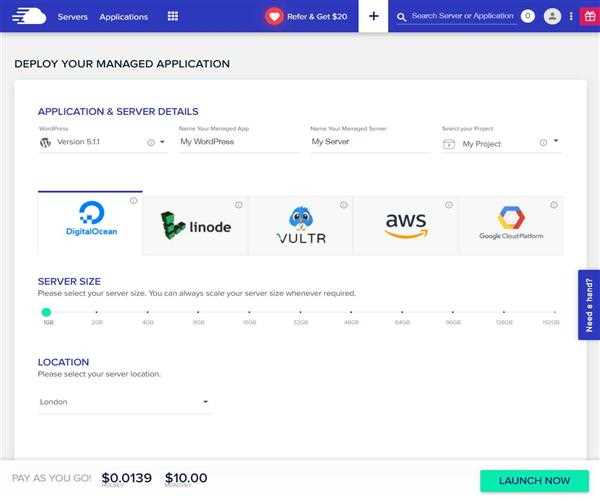
Now it’s time to deploy your managed application. Enter your application and server details, choose cloud infrastructure, server size, and location. After that, click on the Launch Now button.
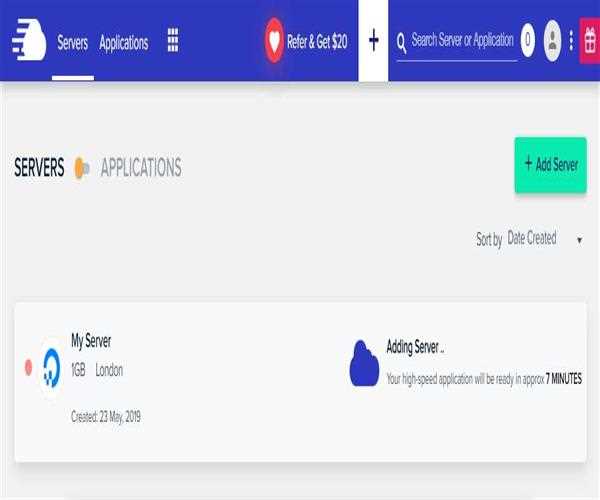
Now, wait for a few minutes until your server is getting ready.
Access Staging Site
Once your server is ready, go to Applications from the top menu bar.
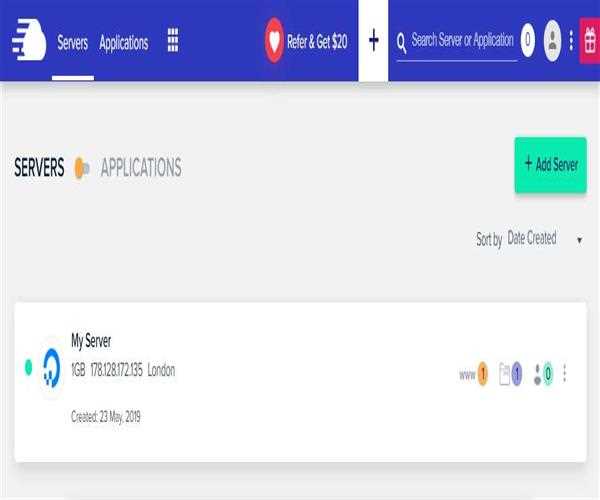
And click on your WordPress application.
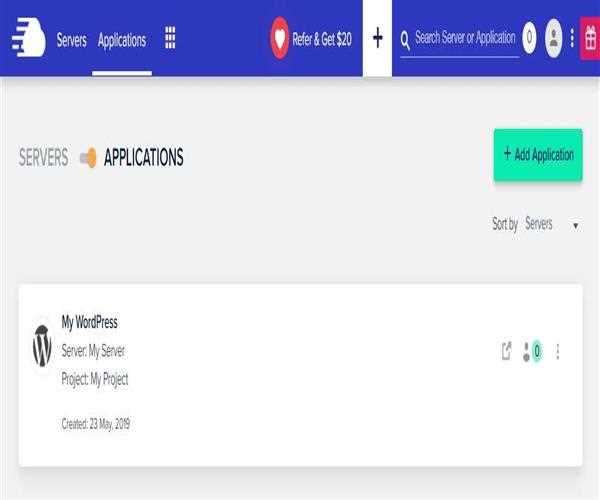
In the next step, you will see your application dashboard.
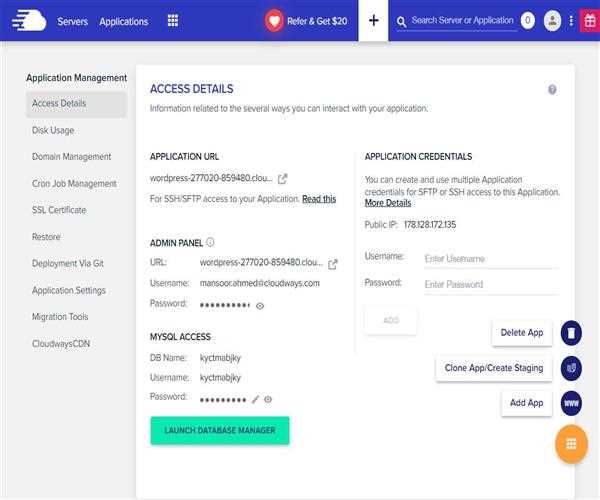
To access your WordPress staging site, go to Application Management → Access Details → Admin Panel. Click on the URL, copy Username and Password and paste them into WordPress login page.
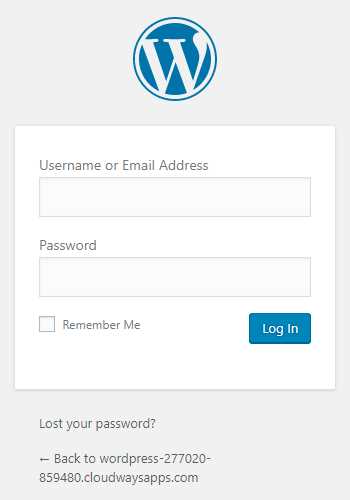
Now from here, you can start working on your WordPress staging site. Once it is ready to publish, next you need to point your domain. Go to Applications from the top menu bar, and then click on your WordPress application.
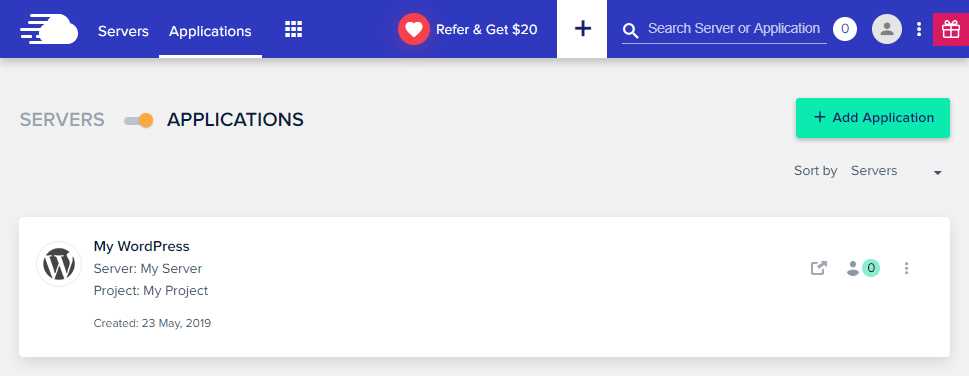
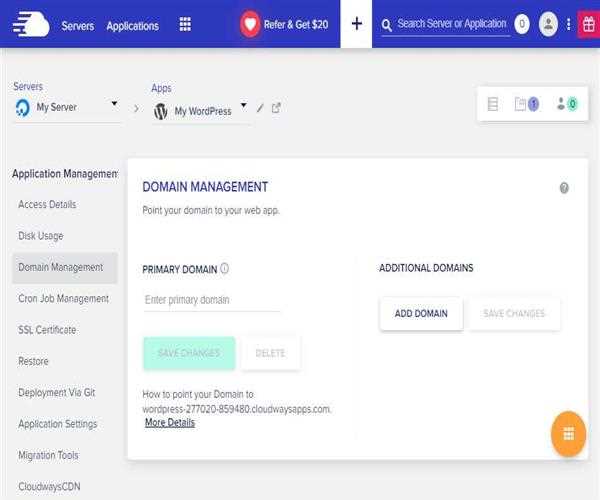
In the next step, go to Application Management → Domain Management, enter your domain name in the Primary Domain field and take your website live.
If you want to make changes to your live website, simply create a staging of that website. And for that, navigate to Applications from the top menu bar, click on the three vertical ellipsis (⋮).
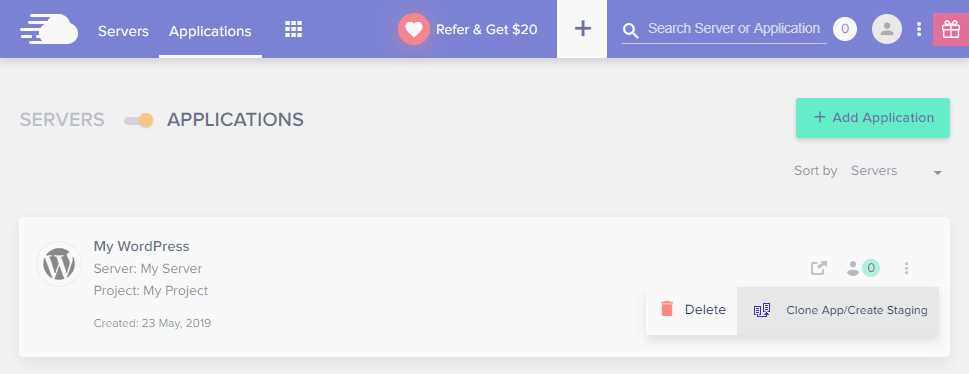
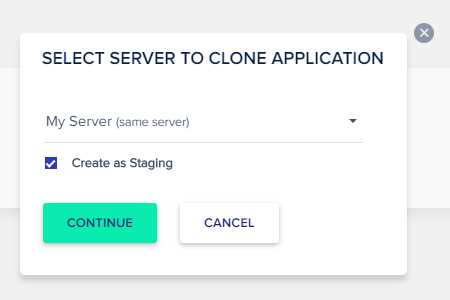
After that, click on the Clone App/Create Staging option, a pop-up will appear asking you to select your server to clone website. Select your server from the drop-down menu, check on Create as Staging, and then click on the Continue button.
In the next screen, you will screen your staging application is in process.
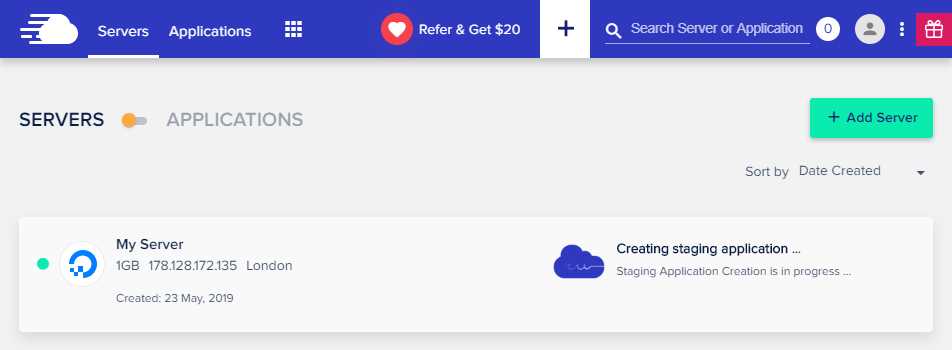
Now, go back to Applications from the top menu bar and start making changes to your staging application.
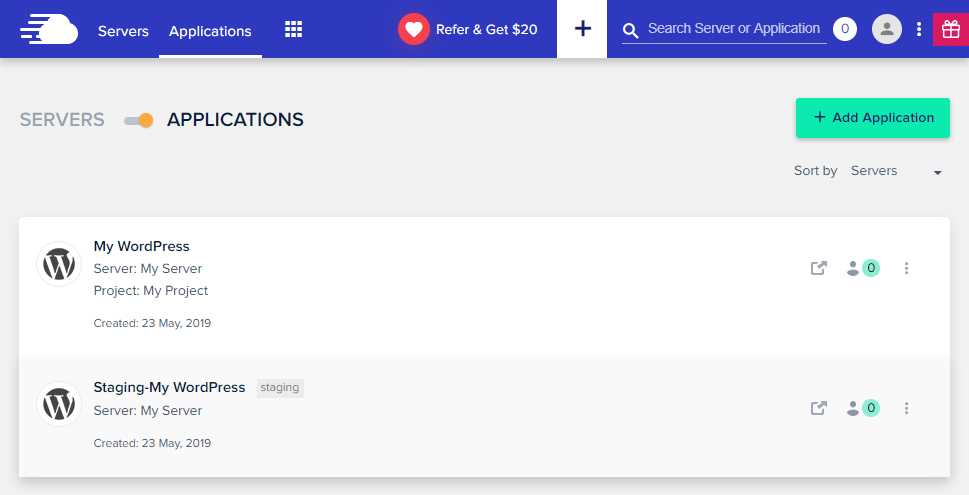
Once changes are finalized, simply push the changes to the live website. That’s all!
I hope that this article has been helpful to you. If you have any feedback to share, please feel free to write in the comment section below


Leave Comment