Modern applications often need to process tasks asynchronously, improve scalability, and decouple services. This is where Message Queues become extremely valuable. In this blog, we’ll explore how to implement a Message Queue in .NET Core using a practical example.

What is a Message Queue?
A Message Queue is a communication mechanism that enables different services or components to exchange messages asynchronously.
Instead of processing everything immediately:
- A producer sends a message to a queue
- The queue stores the message
- A consumer processes the message later
This helps applications become:
- Scalable
- Resilient
- Faster
- Loosely coupled
Why Use Message Queues?
Message queues are commonly used for:
- Email processing
- Order processing
- Payment workflows
- Notifications
- Logging
- Background jobs
- Microservices communication
Popular Message Queue Technologies
Some widely used message brokers are:
| Technology | Description |
|---|---|
| RabbitMQ | Lightweight and popular open-source broker |
| Apache Kafka | High-throughput distributed streaming platform |
| Azure Service Bus | Cloud-based enterprise messaging |
| Amazon SQS | Fully managed queue service |
| MassTransit | .NET distributed application framework |
For this tutorial, we’ll use RabbitMQ with .NET Core.
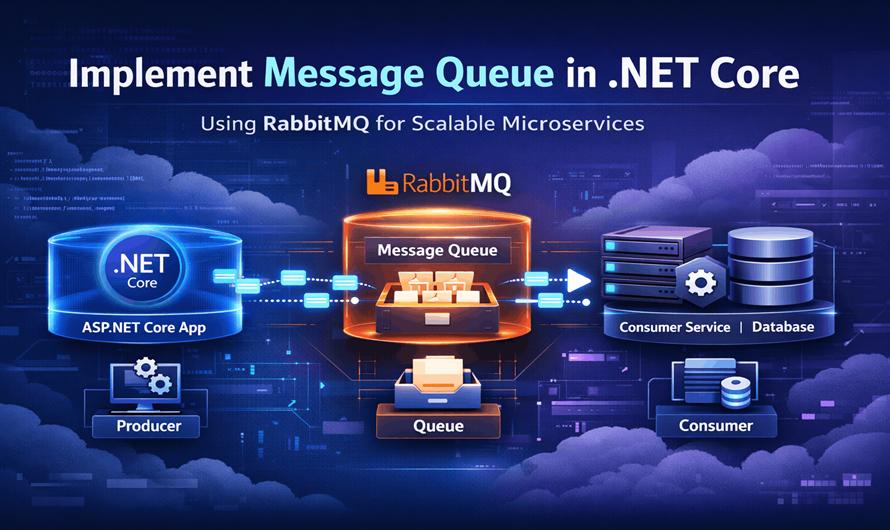
Architecture Overview
The flow looks like this:
Producer Application
        ↓
    RabbitMQ Queue
        ↓
Consumer Application
Prerequisites
Before starting, install:
- .NET 8 SDK
- RabbitMQ Server
- Visual Studio / VS Code
RabbitMQ download:
RabbitMQ Downloads
Management dashboard:
http://localhost:15672Default credentials:
Username: guest
Password: guest
Step 1: Create a .NET Core Project
Create a Web API project:
dotnet new webapi -n MessageQueueDemo
cd MessageQueueDemo
Step 2: Install RabbitMQ Client
Install the NuGet package:
dotnet add package RabbitMQ.ClientOfficial package:
RabbitMQ.Client NuGet Package
Step 3: Create Message Producer
Create a folder called Services.
MessageProducer.cs
using RabbitMQ.Client;
using System.Text;

namespace MessageQueueDemo.Services
{
    public class MessageProducer
    {
        public void SendMessage(string message)
        {
            var factory = new ConnectionFactory()
            {
                HostName = "localhost"
            };

            using var connection = factory.CreateConnection();
            using var channel = connection.CreateModel();

            channel.QueueDeclare(
                queue: "demo-queue",
                durable: false,
                exclusive: false,
                autoDelete: false,
                arguments: null);

            var body = Encoding.UTF8.GetBytes(message);

            channel.BasicPublish(
                exchange: "",
                routingKey: "demo-queue",
                basicProperties: null,
                body: body);

            Console.WriteLine($"Message Sent: {message}");
        }
    }
}
Step 4: Create API Endpoint
Program.cs
using MessageQueueDemo.Services;

var builder = WebApplication.CreateBuilder(args);

builder.Services.AddSingleton<MessageProducer>();

var app = builder.Build();

app.MapPost("/send", (string message, MessageProducer producer) =>
{
    producer.SendMessage(message);
    return Results.Ok("Message Sent");
});

app.Run();
Step 5: Create Consumer Application
Create another console application:
dotnet new console -n MessageConsumer
cd MessageConsumer
Install RabbitMQ package:
dotnet add package RabbitMQ.ClientStep 6: Implement Consumer Logic
Program.cs
using RabbitMQ.Client;
using RabbitMQ.Client.Events;
using System.Text;

var factory = new ConnectionFactory()
{
    HostName = "localhost"
};

using var connection = factory.CreateConnection();
using var channel = connection.CreateModel();

channel.QueueDeclare(
    queue: "demo-queue",
    durable: false,
    exclusive: false,
    autoDelete: false,
    arguments: null);

var consumer = new EventingBasicConsumer(channel);

consumer.Received += (model, ea) =>
{
    var body = ea.Body.ToArray();
    var message = Encoding.UTF8.GetString(body);

    Console.WriteLine($"Received Message: {message}");
};

channel.BasicConsume(
    queue: "demo-queue",
    autoAck: true,
    consumer: consumer);

Console.WriteLine("Waiting for messages...");
Console.ReadLine();
Step 7: Run the Applications
Start RabbitMQ
Ensure RabbitMQ server is running.
Run Consumer
dotnet runRun Producer API
dotnet runSend a Request
Using Postman or curl:
curl -X POST "http://localhost:5000/send?message=HelloQueue"Consumer output:
Received Message: HelloQueueUnderstanding Key RabbitMQ Concepts
| Concept | Description |
|---|---|
| Producer | Sends messages |
| Queue | Stores messages |
| Consumer | Processes messages |
| Exchange | Routes messages |
| Routing Key | Determines message destination |
| Channel | Communication path |
Improving the Implementation
The above example is basic. In production systems, you should add:
Durable Queues
durable: trueMessages survive broker restarts.
Manual Acknowledgement
Instead of:
autoAck: trueUse:
autoAck: falseThen manually acknowledge:
channel.BasicAck(ea.DeliveryTag, false);This prevents message loss.
Retry Mechanism
Implement retries for failed messages.
Common approaches:
- Dead Letter Queues (DLQ)
- Delayed retries
- Exponential backoff
Dependency Injection
Wrap RabbitMQ connection logic into services and inject them properly.
Background Services
In ASP.NET Core, consumers are often implemented using:
BackgroundServiceExample:
public class QueueConsumerService : BackgroundService
{
    protected override async Task ExecuteAsync(CancellationToken stoppingToken)
    {
        // Consumer logic here
    }
}
Benefits of Message Queues in .NET Core
- Better Scalability
- Multiple consumers can process messages concurrently.
- Improved Reliability
- Messages remain in the queue even if services fail temporarily.
- Loose Coupling
- Services communicate independently without direct dependency.
- Asynchronous Processing
- Long-running operations move to background processing.
Real-World Use Cases
E-Commerce
- Order placed
- Queue processes inventory
- Queue triggers payment
- Queue sends email
Banking
- Transaction validation
- Fraud detection
- Notification processing
Microservices
Services exchange events asynchronously using queues.
Common Challenges
| Challenge | Solution |
|---|---|
| Duplicate messages | Idempotent consumers |
| Failed processing | Retry policies |
| Queue overload | Scaling consumers |
| Message ordering | FIFO queues |
| Monitoring | Logging and dashboards |
Best Practices
- Keep messages small
- Use strongly typed contracts
- Implement retries
- Monitor queue health
- Use dead-letter queues
- Avoid tight coupling
- Make consumers idempotent
Conclusion
Message Queues are essential for building scalable and reliable distributed systems in .NET Core. Using RabbitMQ with ASP.NET Core allows developers to process tasks asynchronously, improve performance, and decouple services efficiently.
As your applications grow, integrating message brokers becomes a crucial architectural decision that significantly improves scalability and maintainability.
Additional Resources
- RabbitMQ Documentation
- ASP.NET Core Documentation
- MassTransit Documentation
- Microsoft Background Services Guide


Leave a Comment